In today’s world, many of us are regularly on the go and need to access our emails from mobile phones or outside our workspaces. While this can be convenient for us, it can also pose a challenge when sending attachments.
Big attachments can take a long time for your recipients to download, so you’ll want to be mindful of the size of any image files you send, mainly if you include a dashboard image or illustrations. Save yourself the hassle (and your recipient the download time) by converting them into a PDF file before sharing.
This blog will tell you how to create a PDF from images online at home without spending a penny. So, without further ado, let’s dive right into it!
How To Create A PDF From Images Online?
File conversion tools have taken the internet by storm. While some of them just butcher the pictures, others do pretty fine. But here is the thing, they cost you a fortune. So, why throw money around when you can get the job done for free? Here are three ways you can convert images to pdf on your own;
In The Phone (Android and iPhone)
There are so many tasks that your phone can help you with, and creating a pdf from images is one of them. Although it may seem complicated, all it would take is a few clicks, and Viola, you are done. Here is how you can use your Android phone to convert an image to a pdf;
- Go to the Gallery of your Android.
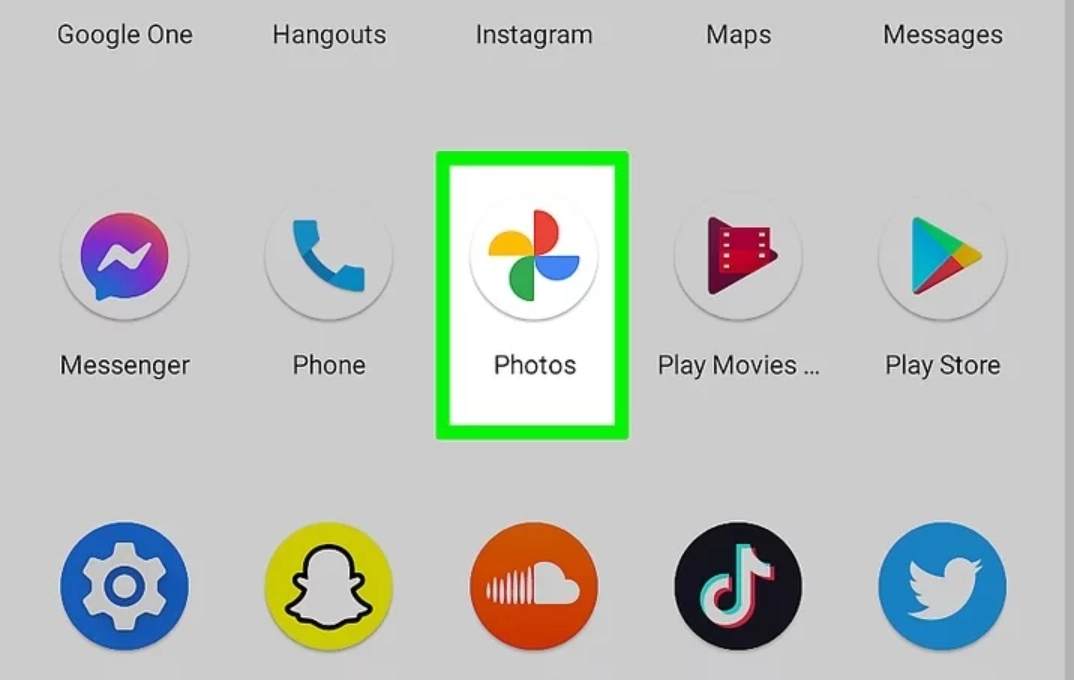
- Select the photo you want to convert to PDF.
- Then tap on the 3 dots in the top-right corner of the screen.

- A context menu will open. Now, choose “Print.”
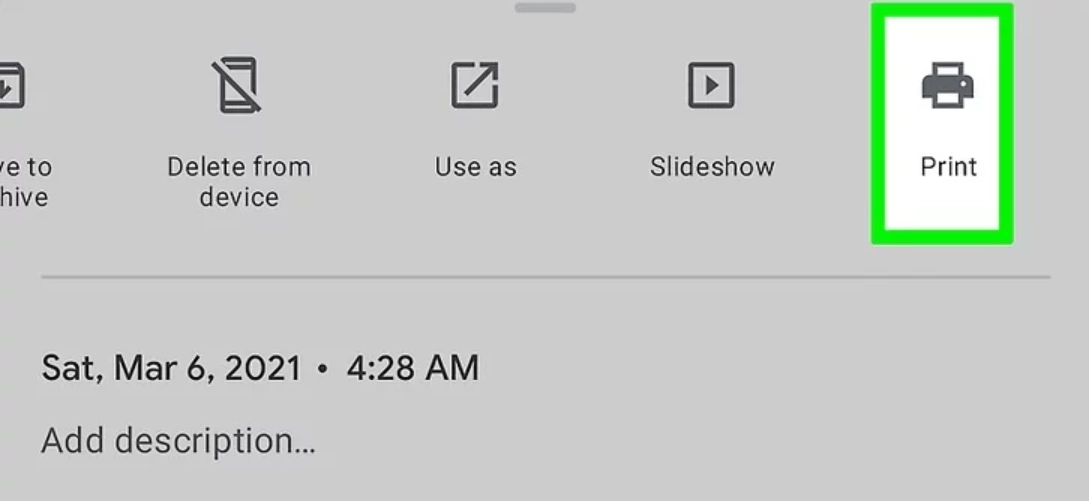
- There you’ll see an option to download it as a PDF.
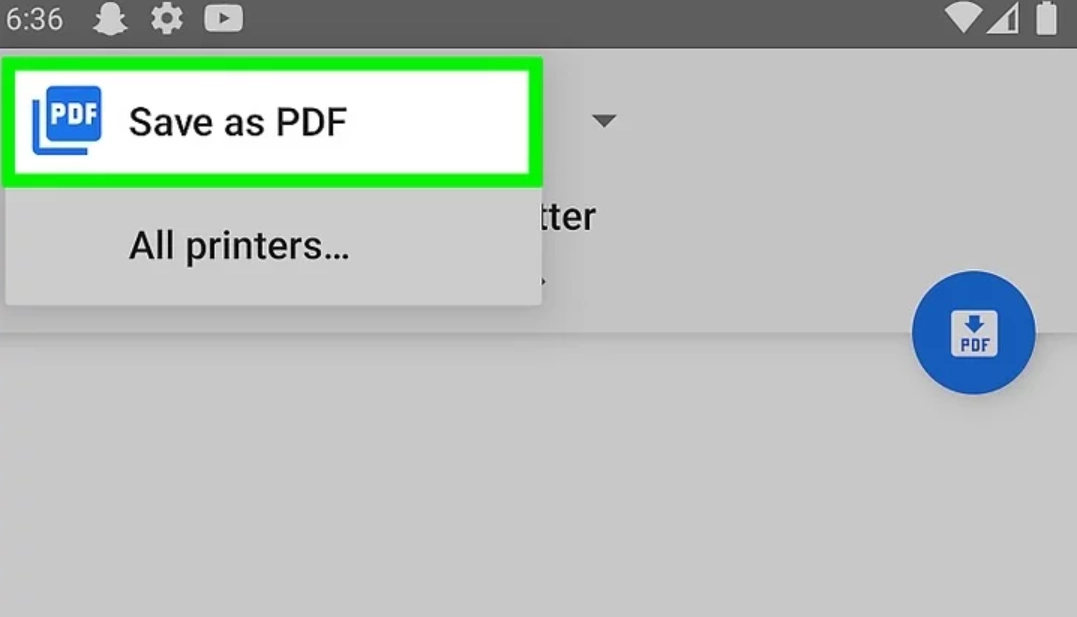
- You can also change the paper size from here.
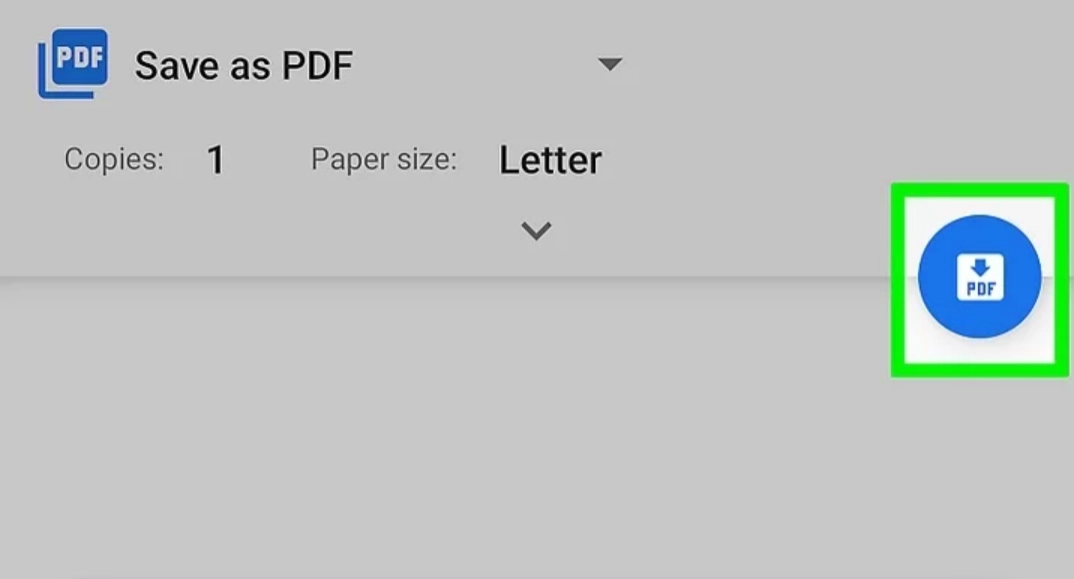
- Then tap on the download icon.
- Save the pdf file on your phone.
That is how to create a pdf from images in your Android. But what if you have an iPhone? Well, don’t worry, we have got your back. Here is how you can do it;
- Go to the “Photos” app on your iPhone, the multicolored flower icon on your home screen.
![]()
- Select the picture you want to convert.
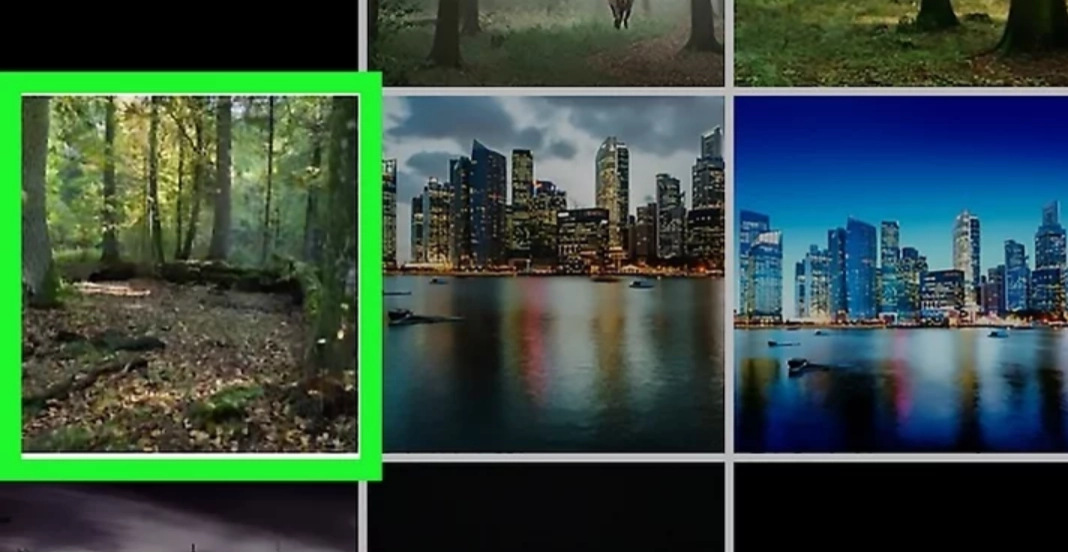
- You can also select multiple images. Tap “Select” on the right corner of your phone screen.
- Choose more pictures.
- Now that you have selected the pictures, tap on the Share icon at the bottom-left corner of your iPhone screen.
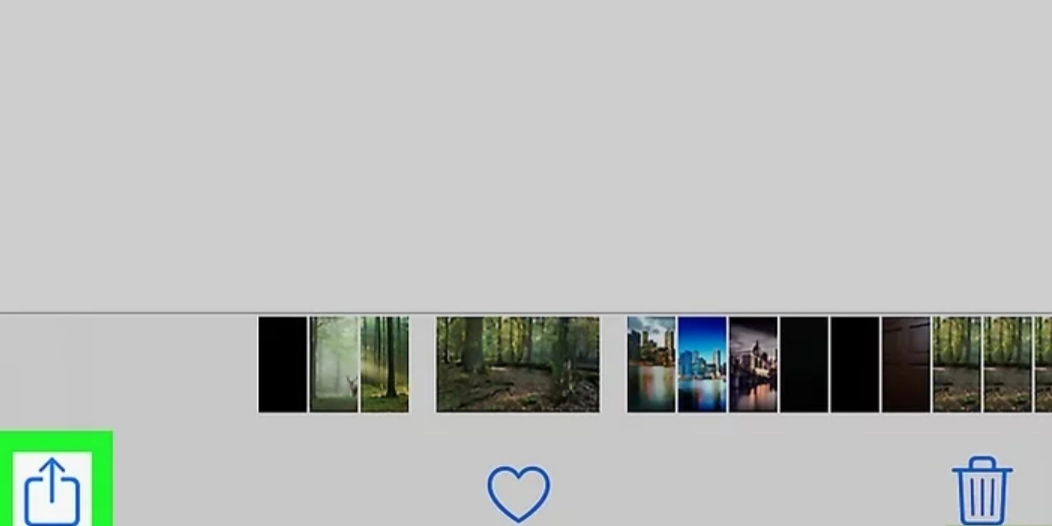
- Select “Print.” There is a printer icon right next to it.
![]()
- You can view your selection at the bottom of the screen.
- Zoom out on a picture to view it in the pdf version.
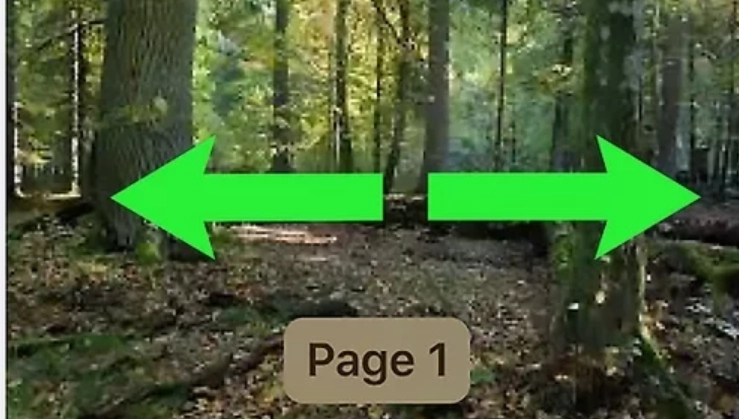
- Now tap on the share icon again.
![]()
- Next, select “Save to Files” and save the pdf file in your desired location.
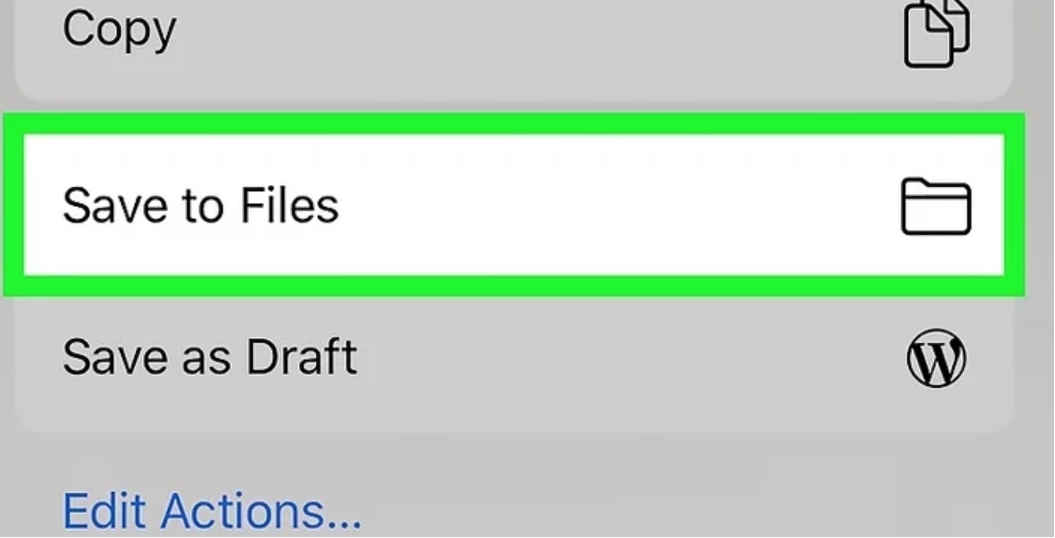
- You can save it on your iPhone or iCloud Service.
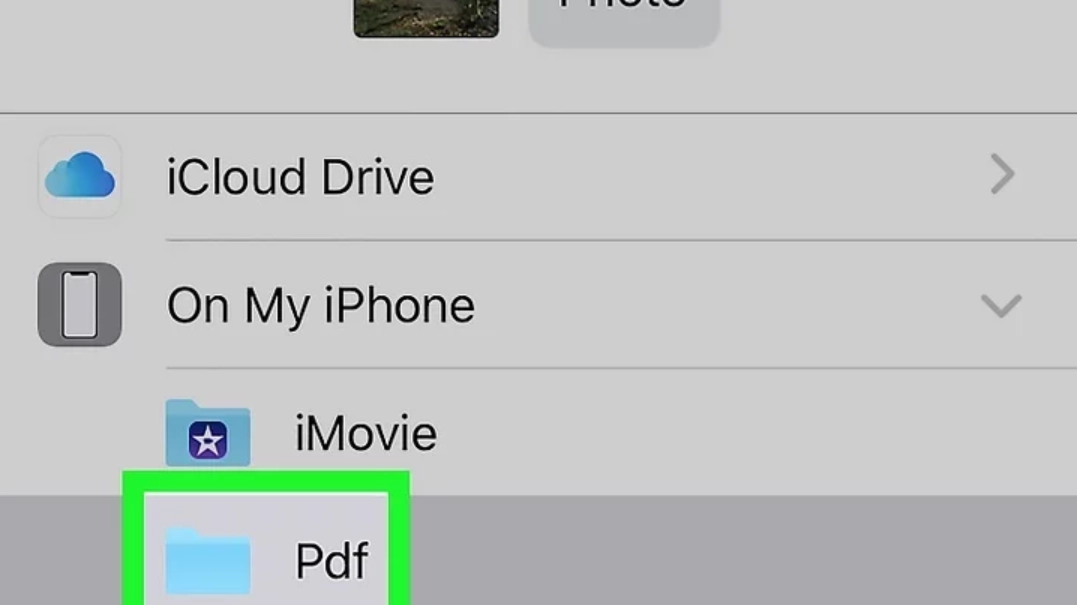
- Tap save and you are done.
In Windows
Usually, when you save a picture on a laptop, it is saved in the form of a JPEG file. If you want the picture to be saved as a pdf version, you can do that without even needing to install any software. Here is how you can do this;
- Open an image in the “Photos App” in your Windows and click on the three dots at the top-right corner of your laptop screen.
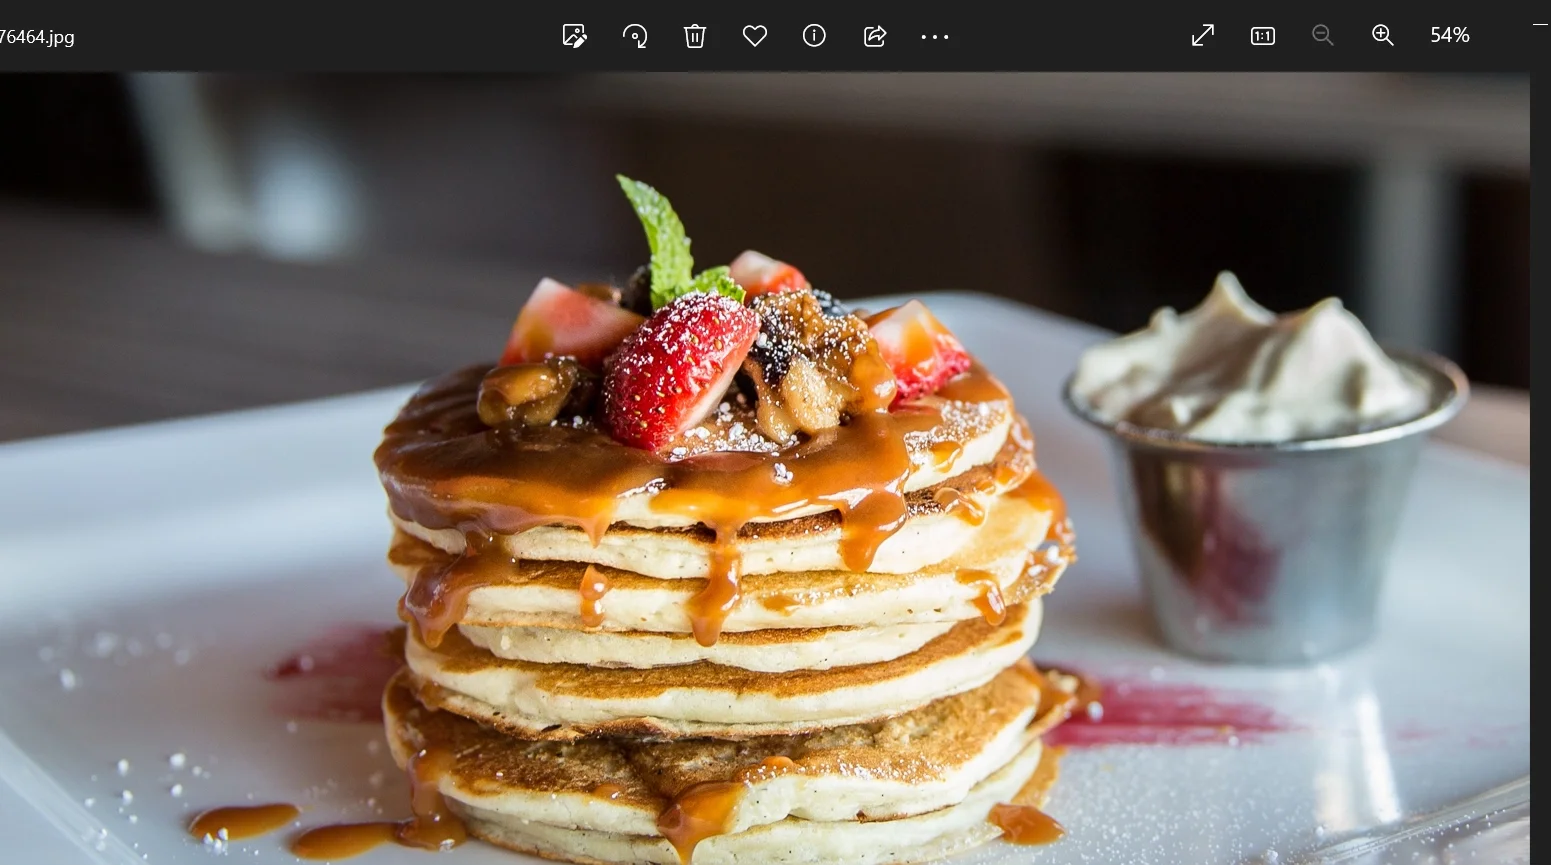
- A drop-down menu will open. Click on the “Print” option.
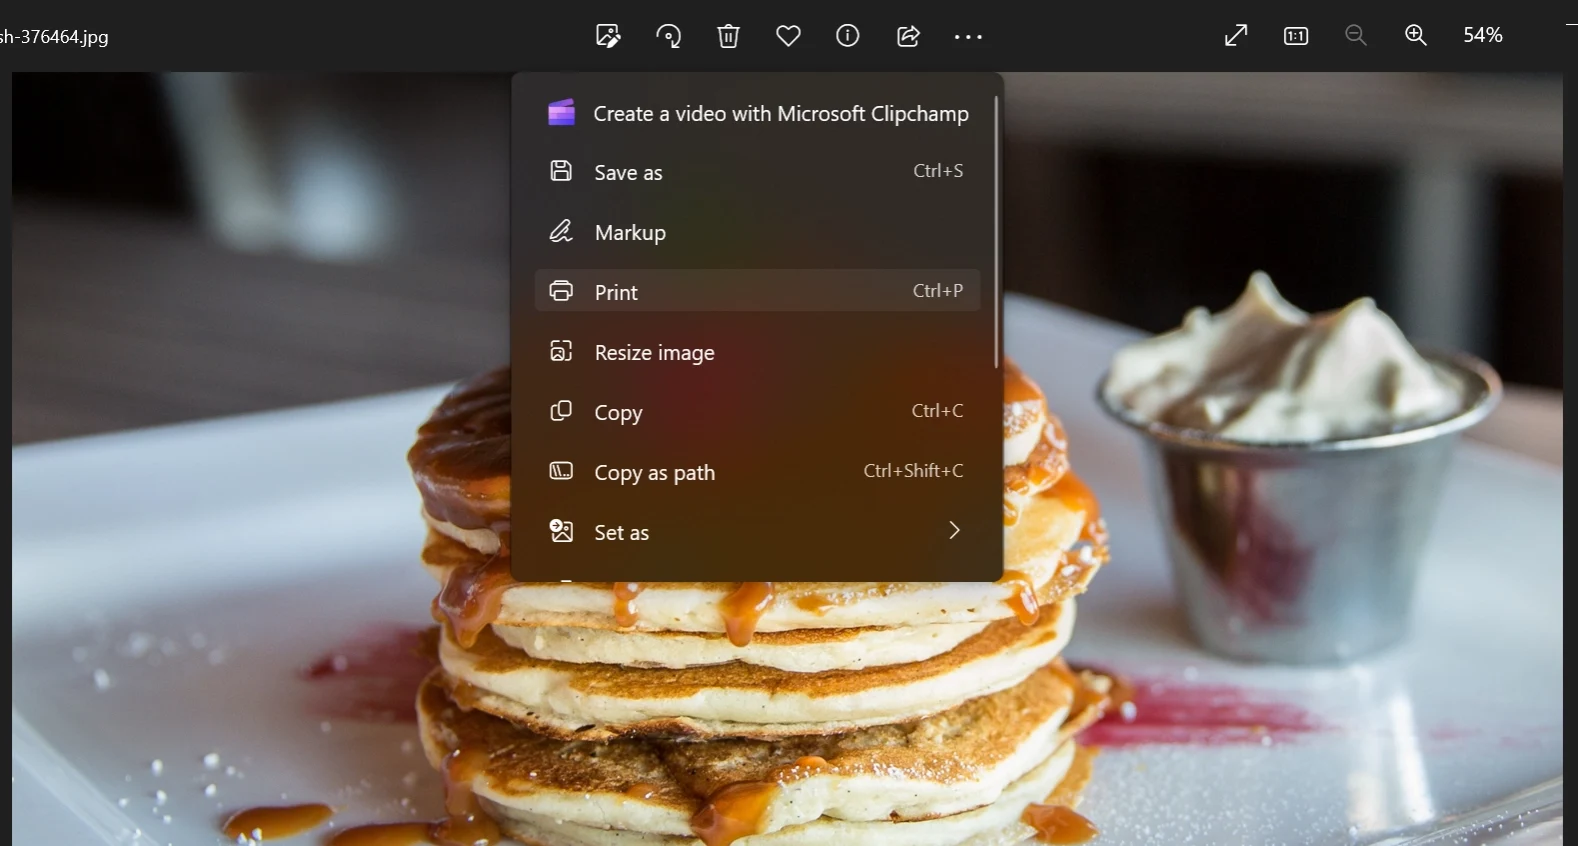
- From here, you can make any changes to the picture you want. See if you want the orientation of the picture to be portrait or landscape. You can also change the size.
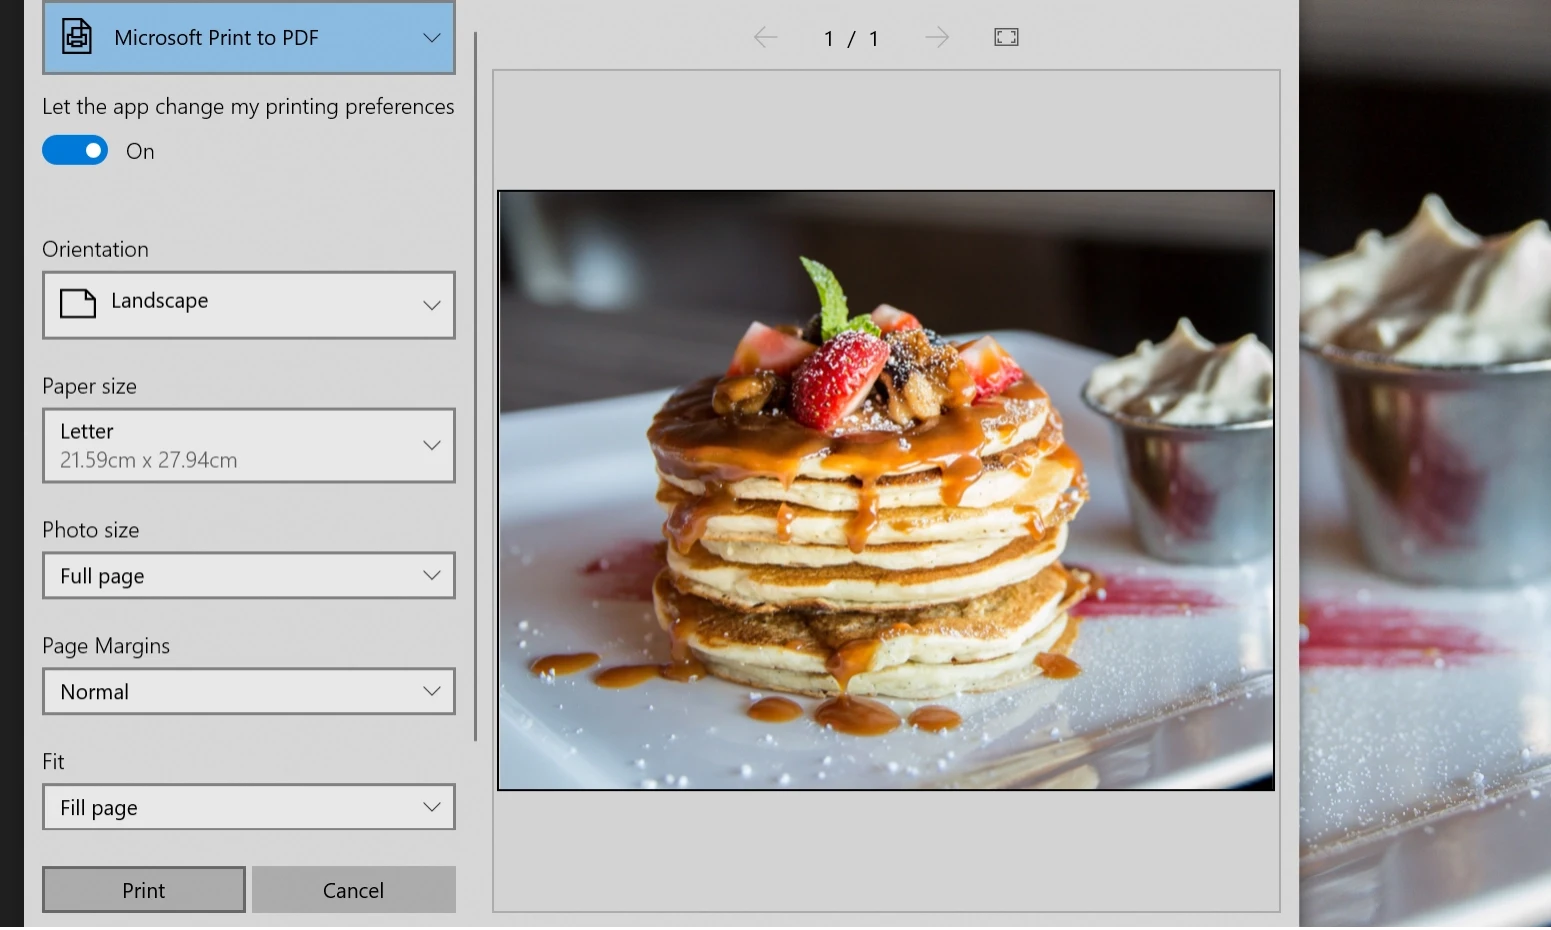
- After making your desired changes to the picture, click “Print.”
- Name the file, decide where you want to save the picture, and click “Save.”
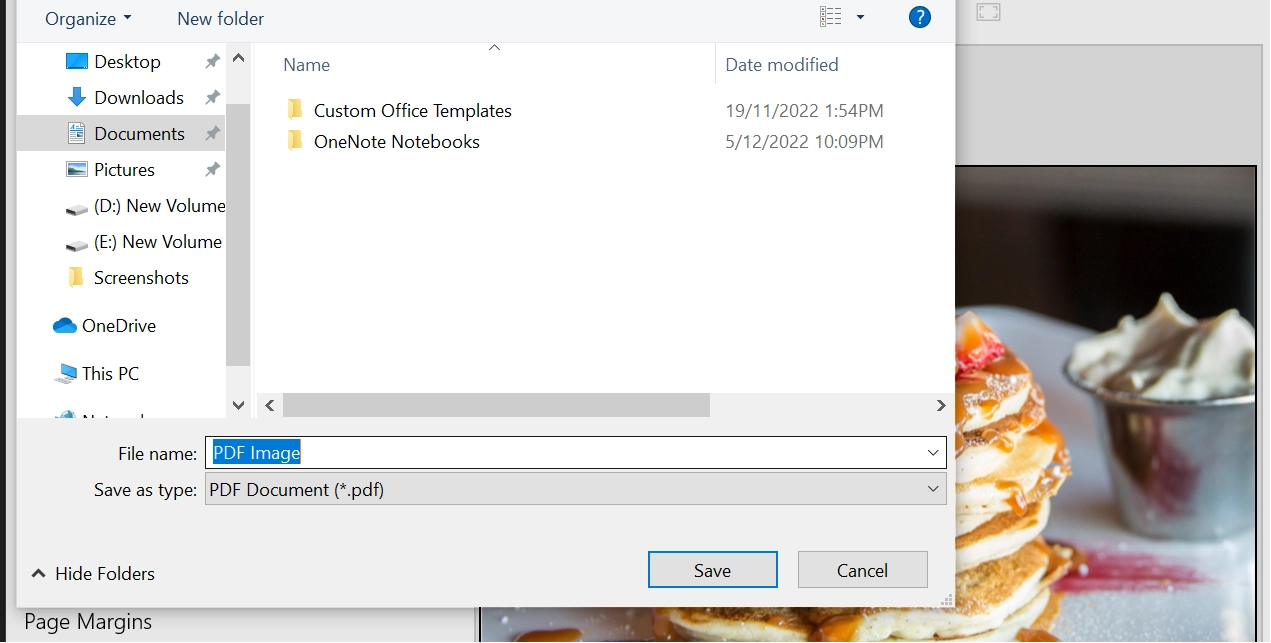
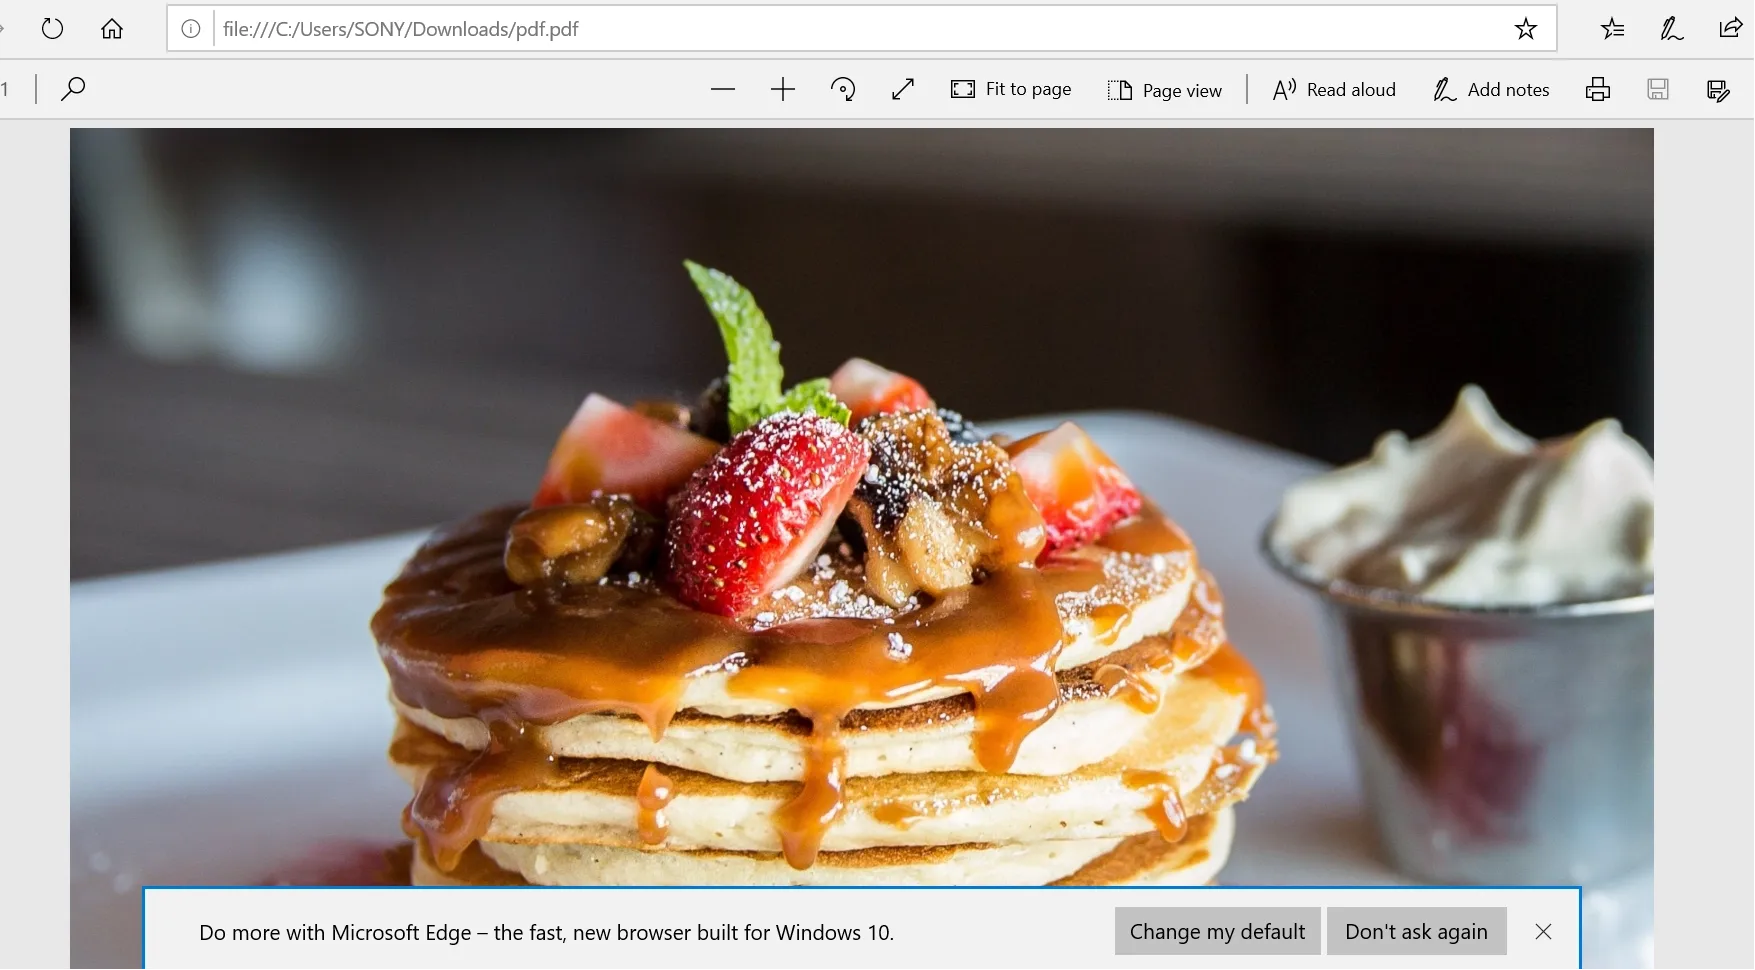
- So, there you have it!
In Mac
Converting a JPG to a PDF on your MacBook is now simpler than you think. All you need are a few quick steps, and you’ll be able to create a pdf from images. Follow the steps below to convert your images the right way;
- Look for the “Preview App” on your MacBook’s Dock.
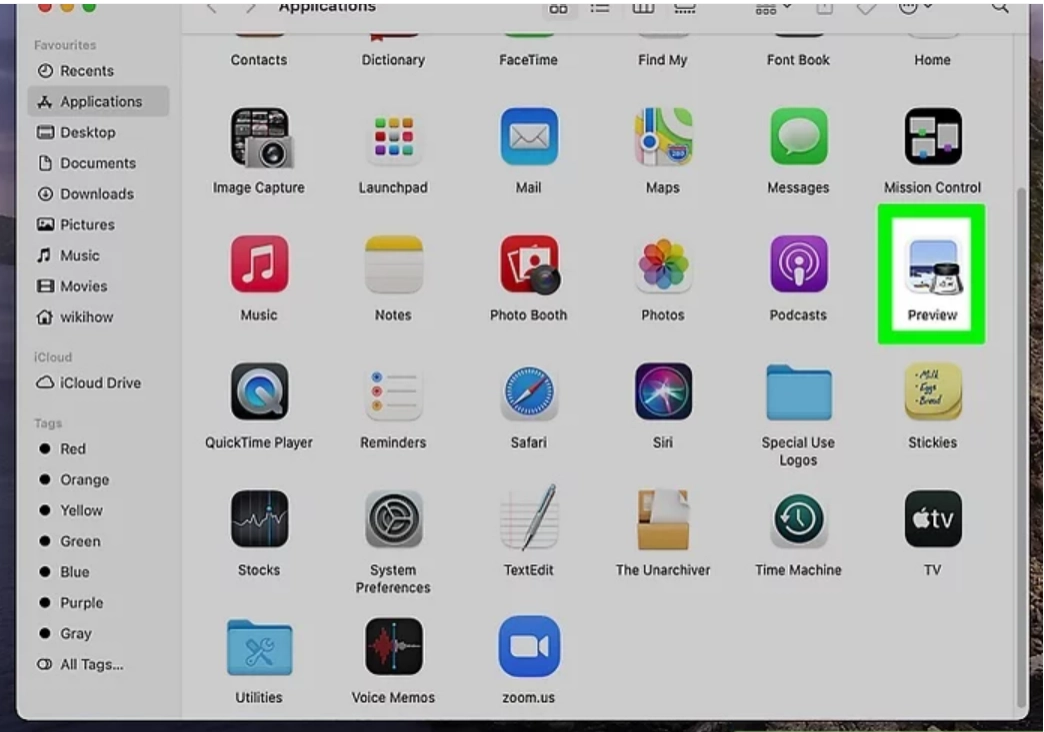
- Click on “File” from the menu bar at the top of the screen. Select “Open.”
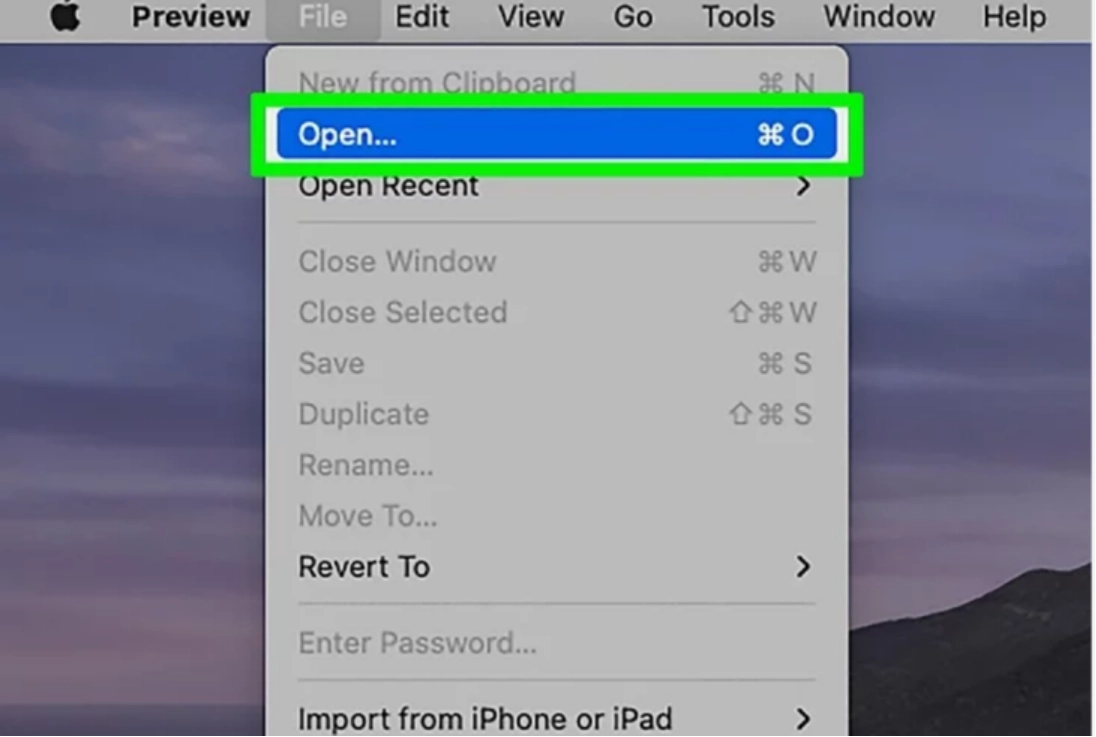
- The next step is to select the images you want to convert.
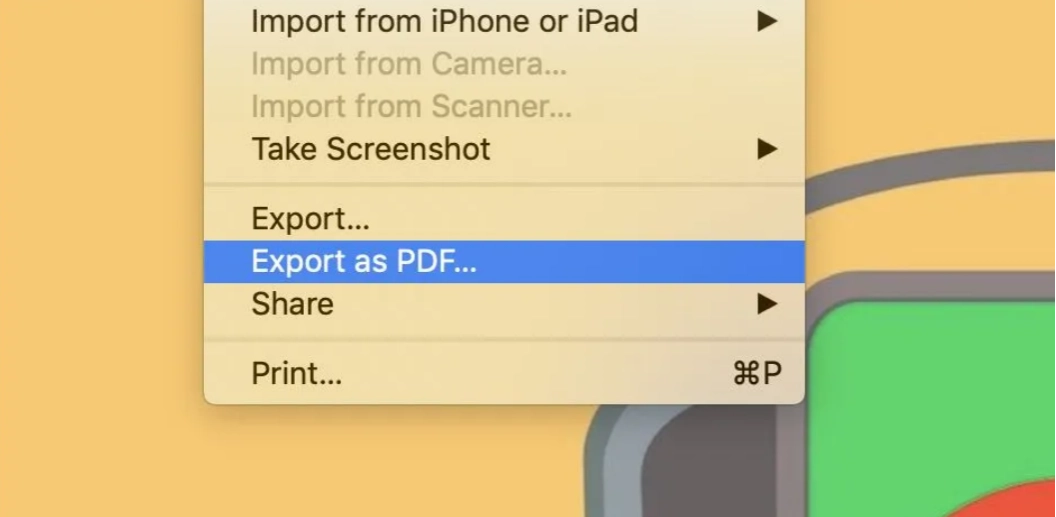
- After selecting the images, click on “Files” again.
- Click on “Export as PDF” from the drop-down menu.
- If you want to change the size of your picture, click on “Paper Size” and make changes accordingly. In addition, if your picture has a wrong orientation, you can also fix this here.
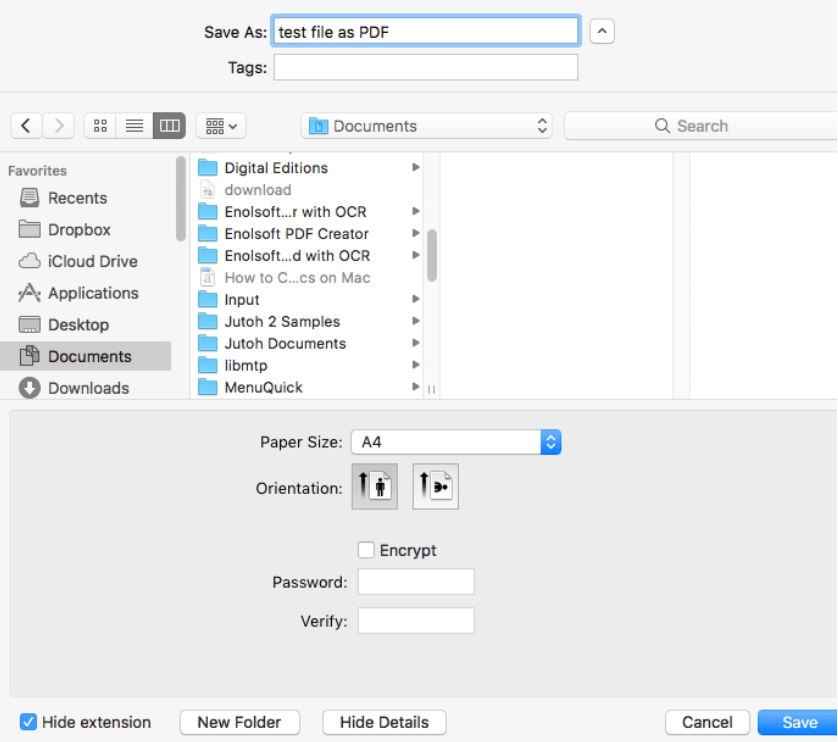
- Now click “Save,” and you have successfully converted your image to pdf.
Converting JPG To PDF With Our JPG to PDF File Conversion Tool
If you want to save yourself from all this hassle of going through these “a bit complicated” steps and yet not getting the desired results, you can use our JPG to PDF conversion tool, for free. Using this tool, you can even convert large-sized images to pdf easily. It allows you to rotate images with the wrong orientation and optimize images without affecting the original resolution.
Here is how you can use our JPG to PDF conversion tool to create a pdf with mages and share it with friends and family.
- Click “Upload File” or drag the picture you want to convert.
- The tool will take just a few seconds to convert your image.
- You can choose whether you want your picture to be in “Portrait” form or “Landscape.”
- In addition, with our JPG to PDF conversion tool, you can also choose whether you want to convert your image with small, big, or no margin. It also allows you to make changes in the size of the file.
- After making the adjustments, click “Convert to PDF.”
- Once converted, you can download it by clicking on the “Download” option.
- And within a few clicks, your pdf file is ready to share.
Bottom Line
With the advancement of technology, converting images to pdf has become as easy as pie. There are a plethora of ways to convert an image to pdf; however, they will take a lot of your time, or the result won’t be as satisfactory as you want.
Use our JPG to PDF conversion tool to create a PDF from images without risking your privacy and losing the quality or original resolution. It doesn’t require you to register, so don’t worry; it won’t cost you a single buck!

